Monday, August 5, 2013

Adventure Time Flame Princess Cosplay

So I made this Adventure Time Flame Princess cosplay for my daughter for Boston Comic Con 2013.  The debut of it was delayed by 3 months because of the Boston marathon bombing which postponed the convention.  I did not want to put it out until we could debut it in public.  Here it is.

 So I did not have a pattern for the dress so I winged it and it worked out pretty good.  When she tried it on we decided to go with a petticoat underneath to give it the poofiness that her dress has, pictured below


I'm a horrible photographer but it does have the train in the back of the dress.   I styled the wig as well, this was the first time I had styled a wig and I am very happy with how it turned out.  I added some of the tule fabric to the wig to give it a little more of the flame look.  The flame ball lights up as well but with the lighting in this picture you can't see it.  
 You can see the flame prince I made on the shelf behind her for her friends Fionna cosplay.  The flame prince gets turned into the little poof ball flame guy in the Fionna and cake comic.

 I told her to make an angry face and she laughed instead.  Finally got a smile though.

 Cake looking out of Fionna's backpack on the side.
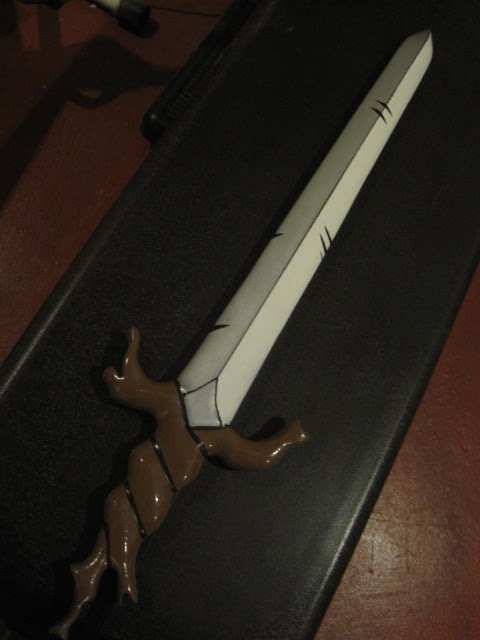
 My daughter and her friend in all their adventure time awesomeness.  I made the crystal sword, backpack, cake, and hat as well.  The shirt, skirt and socks for Fionna were purchased.

 We saw an awesome Sloth from the movie the Goonies walking around so being huge fans we had to get a picture of the two of them.
 Plus they had a Jabba the hut can't pass that photo opportunity up.
 Boston.com asked to take a picture of my group of 3 kids to put on their site and this is it.  You can see it on Boston.com under scenes from Boston Comic Con 2013

Thursday, August 1, 2013

Adventure Time Finn's Root Sword

So this is the Finn's Root Sword from Adventure Time.  I made this to give to the artists of the comic book Shelli Paroline and Braden Lamb at this years Boston Comic Con. my Family loves adventure time in all it's forms and we were lucky enough to meet the artists last year.  So I wanted to give them this as a thank you for all the good reading we've had all year.

So here is an official picture of the sword from the adventure time wikiapedia.

 
So I started with a 2 1/2 thick pieces of MDF board and glued them together to give me a piece that was 1 inch thick.  I wanted to make sure I got the roots carved into the hilt properly and I needed the thickness to be at least 1 inch.  So I went ahead and cut out the sword and then sanded down the blade to be thinner then the hilt.  After I was happy with that I got the dremel out and started sanding the roots.  Once everything was done it was time to paint.  Now I wanted this to look like the cartoon version so I went ahead and did the blade in 2 different colors, aluminum, gun metal grey and then white.  Then I painted the roots brown of course.  Once it was done it still did not look right and then I realized I need to add the black borders to it.  and down the center of the blade and that Is what I did.  Looked much better after that. 
 
So here are some pics of it in finished form I hope they like it.


 Another view
 The other side.


 Close up of blade

Adventure Time Demon Sword

So this is Finn's demon sword from adventure time.  I made this because I want to give it to the artists of the adventure time comic shelli Paroline and Braden Lamb at Boston Comic Con.  I alos have some other goodies for them as well which I will add to the blog.  My whole family loves adventure time, in all it's forms.  We had the pleasure of meeting the artists last year at Boston Comic Con and this year I want to give them a thank you for all fun reading we've had this year.

Here is a official picture of the demon sword from the adventure time Wikipedia site. 

So I started with a 1/2 thick piece of MDF board and cut the basic shape out of it.  Once I was happy with it I added 1/4 inch thick MDF board to the hand guard and hilt on both sides.  this makes the hilt and hand guard thicker than the blade.  So once the glue dried I went ahead and finish sanded it and then went on to paint it.  Once it was painted I sealed it with acrylic sealer and then used some red vinyl fabric for the leather around the hilt.  Pretty fun little project and I hope the artists like it.
 
Here are some pics of it.